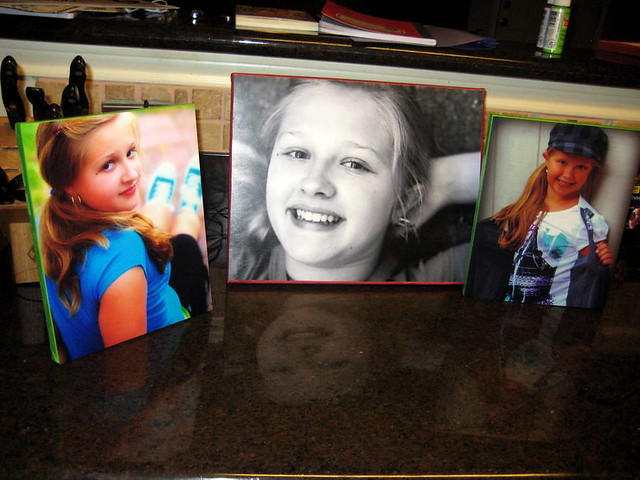
So I did!
I used the cute pictures I snapped of the girls a few weeks ago (since I finally was agreeing they were worthy to be enlarged & hung on our wall... I'm such a picture snob).

::front view::
I painted the outside edges in front, on the side, and in the back the color I wanted to coordinate with what room that picture is going to. ::total sidetrack story:: The color pictures, were free, from Walgreens.... but I used too much saturation among other things that I totally goofed on (like not uploading the larger file, and uploaded the small file so it's not as nice)... anyways, THOSE pictures are going in the girls room, which is a lime green & pinkish color. I practiced on those first before I went on to the larger sizes. ::end of sidetrack story::
After I painted the edges, I took matte Mod Podge and liberally applied it all over the front of the canvas. Then, I turned my picture so it's facing down, and applied more on the back of the picture. Then, I laid it down on my canvas (so the picture is where it's supposed to be). I made sure all bubbles were out of the way, and it was lined up perfectly.
After that was done, I had to apply Mod Podge again to the tops, and the sides of my picture & canvas. I let it dry for a bit (translation.... set aside and let dry for a day or so).

::side view::
I.LOVED.it!! I'm now planning on doing more for my living room, but in black & white pictures. I'm going through the pictures now that I just absolutely love when the girls were little & growing up....
However! Do not... I repeat... DO NOT place the canvas facing each other (like say if you want to take these pictures to show off to your co-workers.. and then realized "oh, they're stuck!" b/c they WILL get stuck!). So now, there are some white spots on my colored pictures. Bummer!


Those are so cute! Good job!
ReplyDelete